
Du DIY, des inspirations, des trouvailles...
28 Janvier 2016
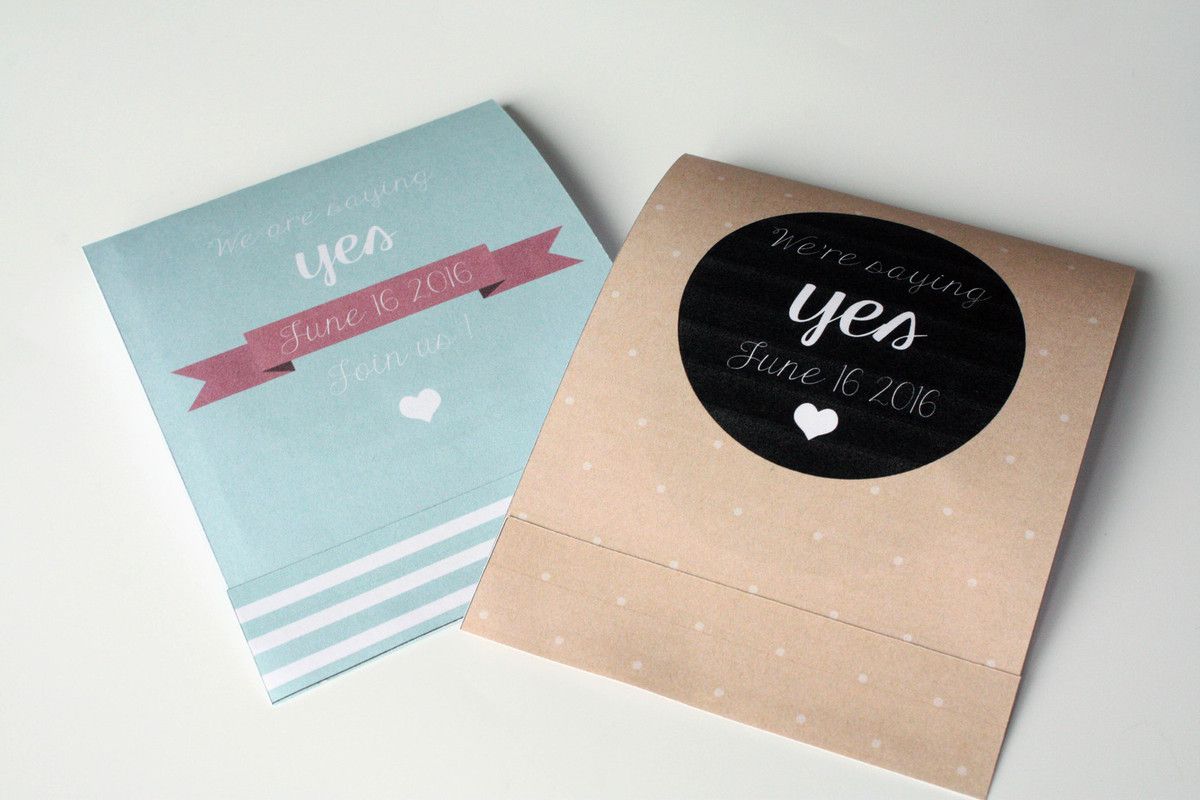
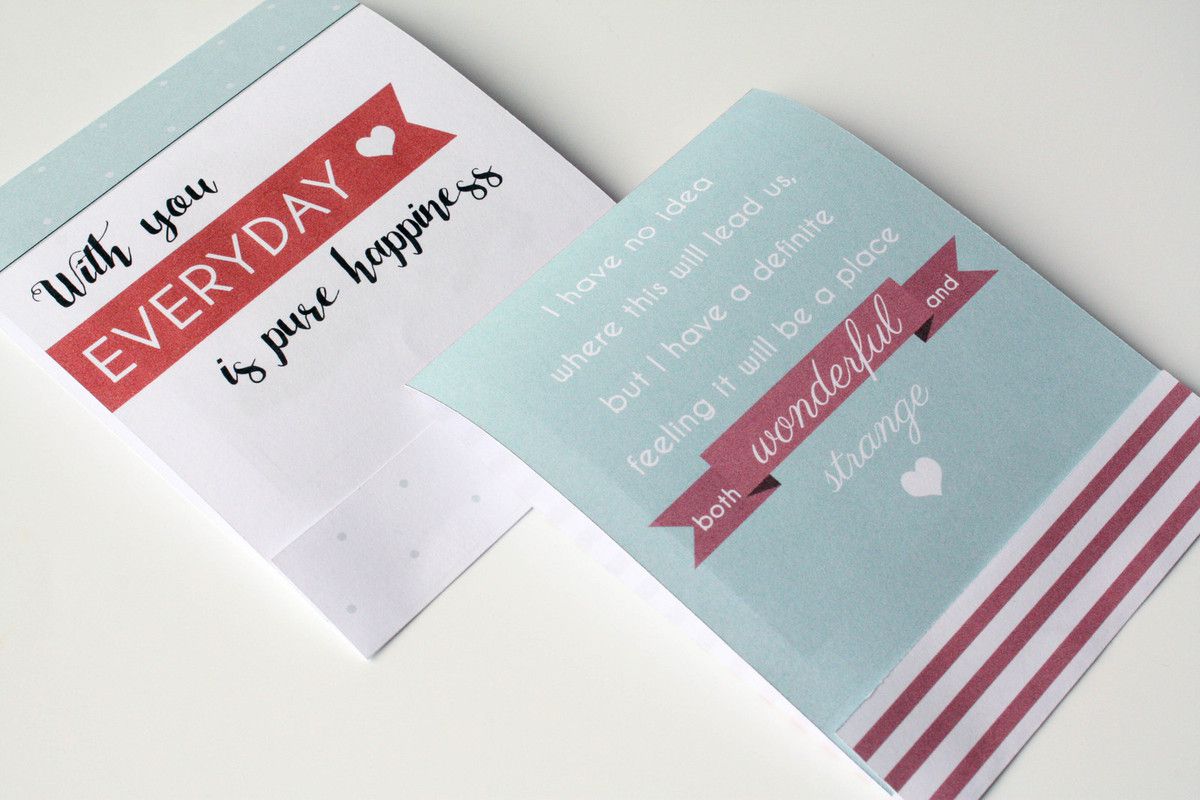
Après un petit temps d'absence, je reviens avec un tutoriel à fabriquer soi-même : des pliages façon matchbox pour y insérer une invitation de mariage ou des souvenirs pour la Saint-Valentin ! Vous trouverez ainsi deux versions pour les mariages (une Kraft, une à Rayures), et deux versions St-Valentin : une façon diaporama photo, l'autre faite de citations tirées de la célèbre série Twin Peaks ! (Une de mes séries favorites !)
Today, I'm coming back with a DIY tutorial : paper matchboxes in which you can put a wedding invitation or some valentine poem or pictures ! You'll find two versions for the wedding invitation (one Kraft, one Stripes), and two versions for the Valentine one : the first one will be filled with squared pictures, the second one is made of Twin Peaks quotes ! (One of my favourite TV shows !)
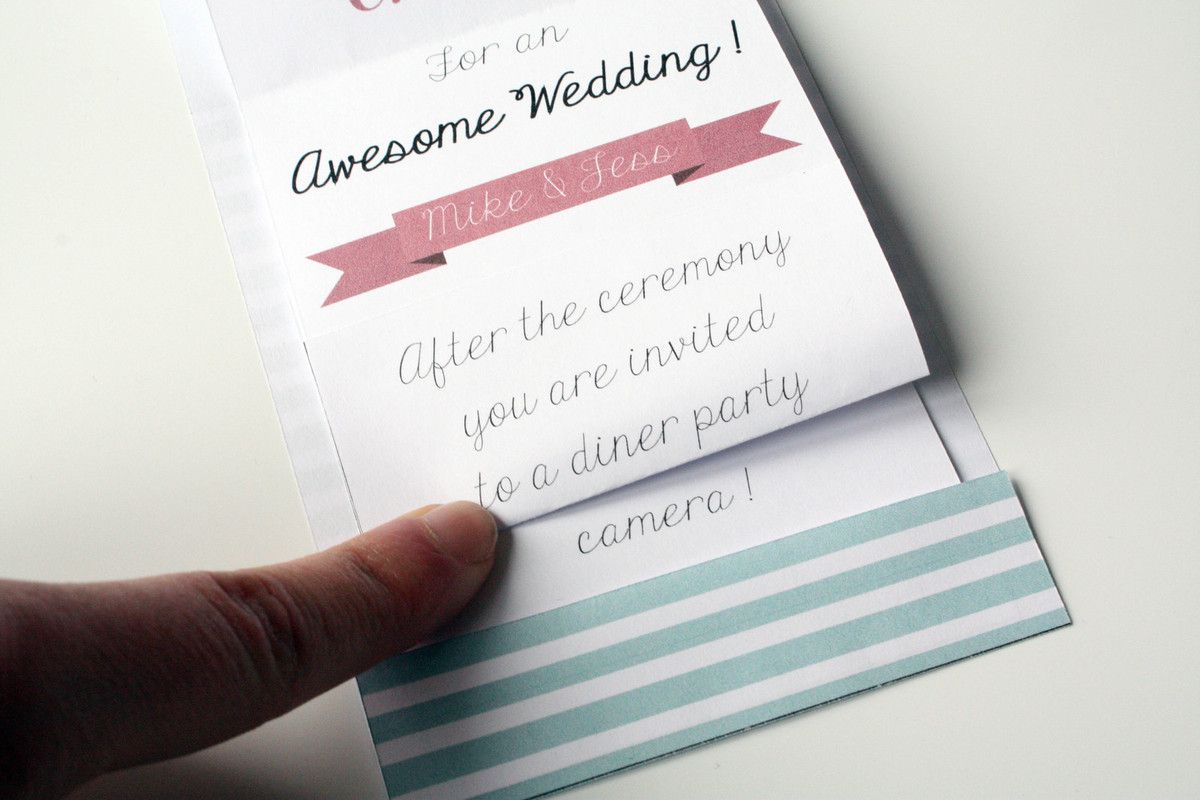
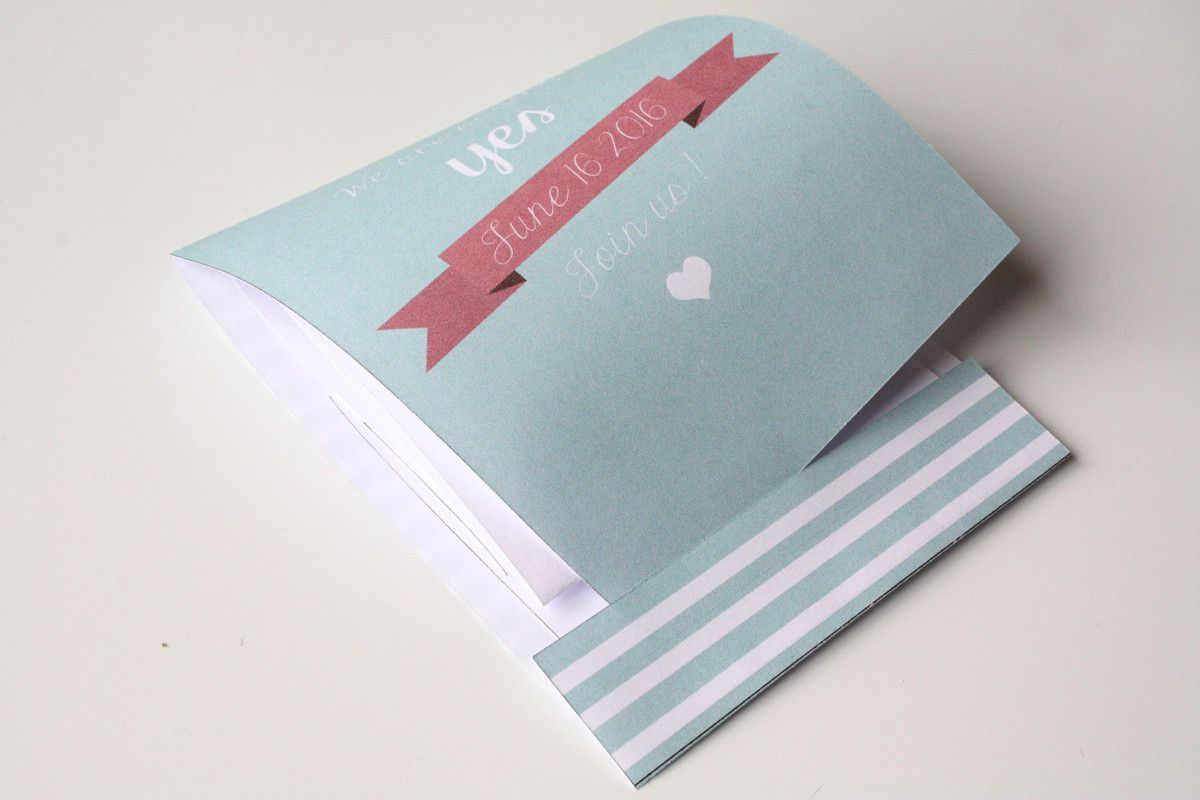
Pour réaliser ces "matchbox" rien de plus simple !


Les étapes :


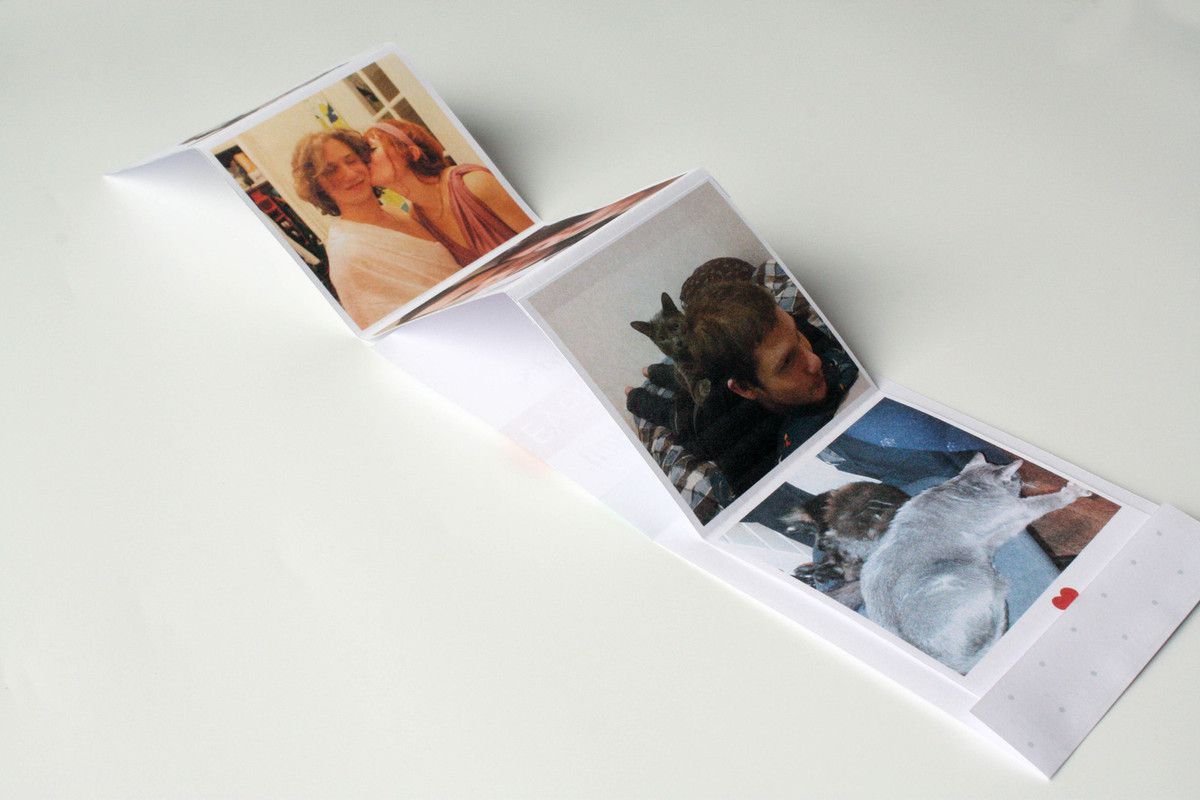


Saint Valentin / Valentine's Day Photo & Twin Peaks


/image%2F1612376%2F20160422%2Fob_c64e70_papiermacaron05.jpg)
/image%2F1612376%2F20160419%2Fob_c23ce3_momgeek03.jpg)
/image%2F1612376%2F20160419%2Fob_cd2a6a_freebie02.jpg)
/image%2F1612376%2F20160408%2Fob_b0c0e7_ge02.jpg)